
There is a version of the day before a professional treatment that most people overlook entirely. They go about their regular schedule, maybe remember to drink a little more water, and show up at their appointment having given no particular thought to how they arrived. And then there is a different version: one where the 24 hours before your appointment are used intentionally to prepare your skin, calm your nervous system, and arrive at the treatment room in the best possible state for your aesthetician to work with.
A well-executed at-home spa day the evening before your Kalos & Muse appointment is not about duplicating what your aesthetician will do. It is about creating the conditions under which their work produces its best results. Think of it as preparing the canvas. A professional treatment applied to skin that is clean, hydrated, rested, and free of recent product buildup performs differently, and better, than the same treatment applied to skin that has not been cared for in the preceding hours.
This guide walks you through a complete at-home spa day that you can do the evening before your appointment using products you likely already own, with no specialized equipment required.
Before You Begin: Setting the Environment
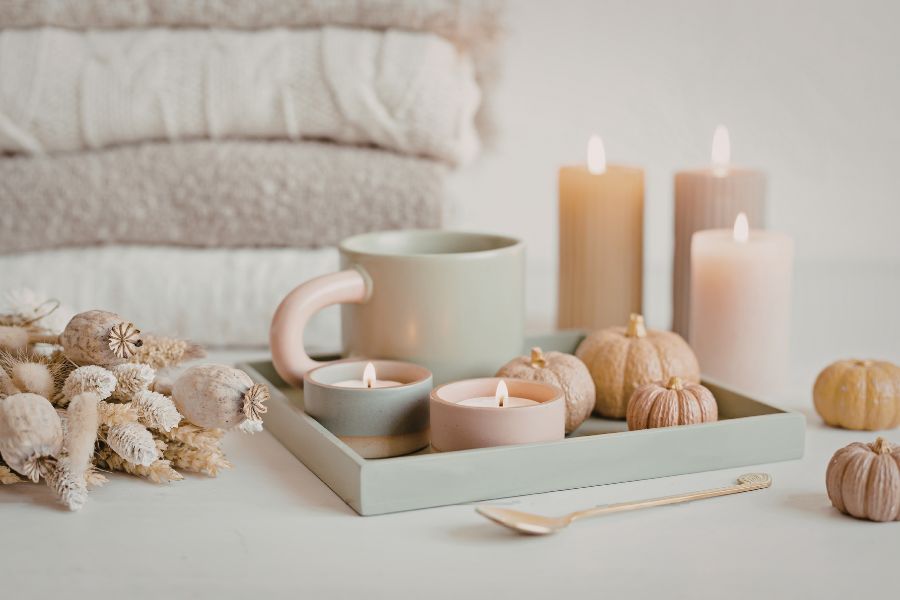
The environment in which you do your at-home spa matters more than most people realize. The same physical steps performed in a rushed, distracted environment produce a different internal result than those same steps performed in a space that feels genuinely calm and set apart from the rest of the day. You do not need a large bathroom or expensive candles. You need a few minutes of deliberate preparation before you begin.
Dim the lighting if you can, or move to warmer, softer light sources. Set your phone to not disturb mode and place it out of easy reach. Lay out everything you will need in advance so there are no interruptions to retrieve a product halfway through. A candle, a soft towel warmed briefly in the dryer, and a cup of herbal tea or infused water nearby transform a bathroom counter into something that genuinely feels like a spa space rather than a utility zone.
Put on music or a playlist that feels genuinely calming rather than energizing. The auditory environment has a measurable effect on the nervous system, and music that activates the parasympathetic nervous system, generally slower tempo, lower complexity, minimal lyrics, supports the kind of full-body relaxation that makes the skin more receptive and the experience more genuinely restorative.
Allow yourself a minimum of 45 minutes to one hour for the full sequence. If you only have 30 minutes, trim the mask step rather than rushing everything. A shortened ritual done with genuine presence is more valuable than a complete one done in haste.
Step 1: Start With a Thorough Double Cleanse
Begin with a complete double cleanse to ensure you are starting with a genuinely clean surface. An oil-based cleanser or cleansing balm as your first step breaks down sunscreen, makeup, and any product buildup that has accumulated throughout the day. Massage it slowly and with intention for at least 60 seconds, using gentle circular motions across the entire face including the hairline and jawline. Rinse thoroughly with lukewarm water.
Follow immediately with a gentle, water-based cleanser as your second step. This removes any remaining residue from the oil cleanser and prepares the skin for everything that follows. The skin should feel comfortable and clean after this step, not tight or stripped. If it feels tight, your second cleanser may be too stripping for your skin type.
The thoroughness of this first step determines how effectively everything that follows can work. Product residue creates a barrier between your skin and any treatment applied on top of it. Starting the evening with genuinely clean skin is the most impactful single step of the entire sequence.
Step 2: Gentle Exfoliation
With clean skin, a gentle exfoliation step removes the layer of dead surface cells that accumulates even with a consistent daily routine. This is an important note: the exfoliation in your at-home spa day before an appointment should be gentle. You are not trying to do the job your aesthetician will do tomorrow. You are clearing the surface so their treatment has cleaner, more receptive skin to work with.
A low-concentration lactic acid toner or a mild enzyme-based exfoliant applied with a soft cotton pad and left for two to three minutes is the appropriate level of exfoliation for this step. Avoid high-concentration AHAs, physical scrubs with grit, or anything that leaves your skin visibly red or sensitized. Your skin should feel smoother and brighter after this step, not irritated.
Do not exfoliate if your skin is currently sensitive, reactive, or if you have used retinol within the past 48 hours. In those cases, skip this step entirely and move directly to the mask. The goal is to arrive at your appointment with healthy, undisrupted skin, and over-exfoliating the night before can compromise the barrier in a way that limits what your aesthetician can safely do.
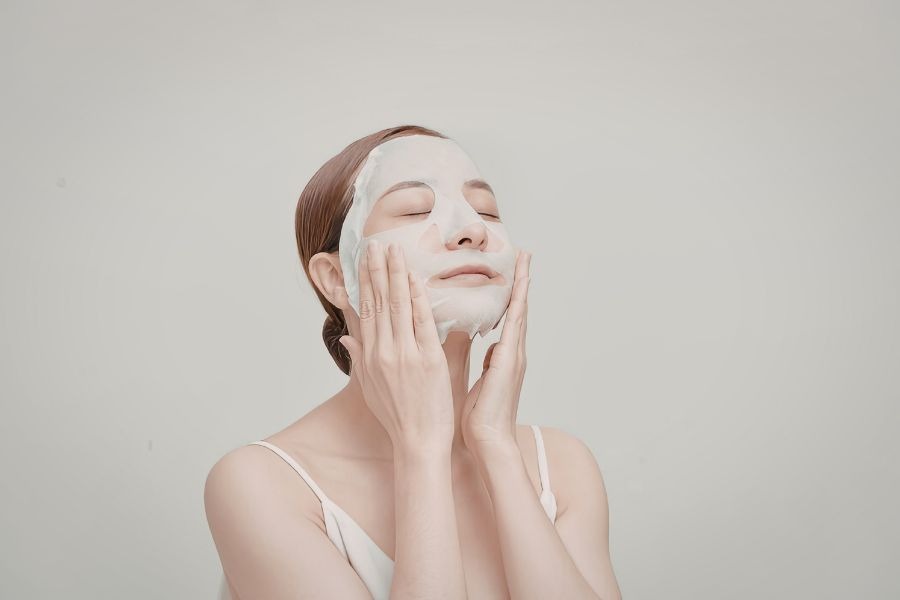
Step 3: A Targeted Face Mask
The mask step is where your at-home spa day delivers its most visible benefit and where you have the most room to address your specific skin concerns. Choose your mask based on what your skin needs most right now, keeping in mind that you want to support and prepare the skin rather than treat it aggressively.
A hydrating mask is the most universally appropriate choice the evening before a professional treatment. Ingredients like hyaluronic acid, aloe vera, glycerin, and honey all draw moisture into the skin and leave it in a more supple, receptive state. Hydrated skin responds better to professional treatments, heals more efficiently afterward, and simply looks and feels better under your aesthetician's hands.
A calming mask with ingredients like centella asiatica, oat extract, or chamomile is the right choice if your skin tends to be reactive or if you have been dealing with any redness or sensitivity. These masks reduce inflammation and strengthen the barrier rather than challenging it, which is exactly what you want in the 24 hours before a treatment.
A brightening mask with mild vitamin C or niacinamide can be used if your skin is not currently sensitive and your primary concern is tone and radiance. These are gentle enough for pre-treatment use and will leave your skin looking noticeably more luminous by the morning.
Apply your chosen mask evenly across the face and leave it on for the time specified by the product, typically 10 to 20 minutes. Use this time to continue the relaxation portion of your spa evening: lie down, breathe slowly, let the quiet work on your nervous system the same way the mask is working on your skin.
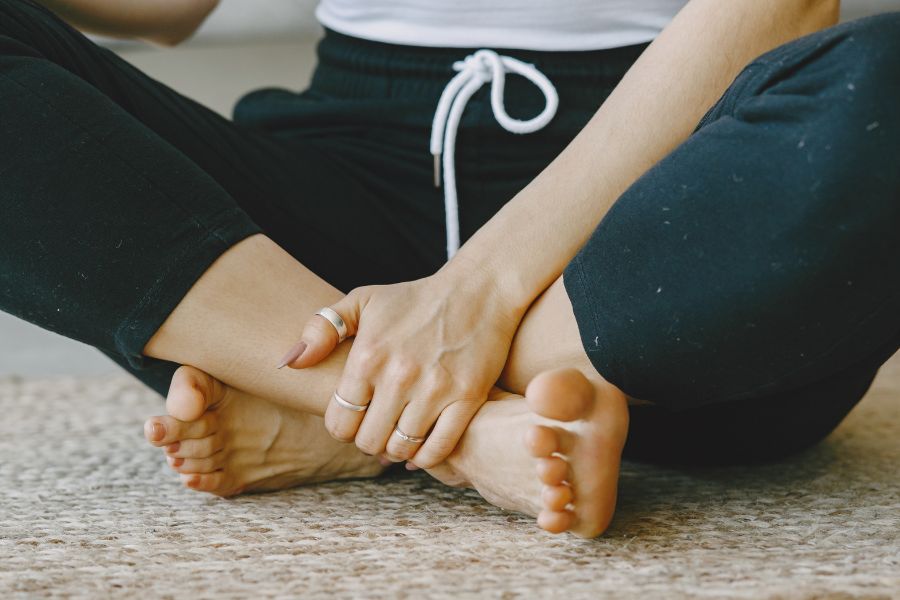
Step 4: Facial Massage
After removing your mask, take five minutes for a gentle facial massage before applying your evening products. Facial massage at this stage in your routine serves several purposes simultaneously: it supports lymphatic drainage, which reduces puffiness and clears the accumulated metabolic waste that can make skin look dull; it improves local circulation, bringing fresh blood and nutrients to the skin surface; and it activates the parasympathetic nervous system in a way that few other simple practices can match.
You do not need a jade roller or gua sha tool for effective facial massage, though either can be a pleasant addition if you have one. Clean fingertips work just as well for the essential movements. Begin at the center of the face and move outward and upward, using gentle pressure and slow strokes from the nose toward the temples, from the center of the chin toward the ears, and from the forehead upward toward the hairline.
Pay particular attention to the jaw and temples, where most people accumulate significant tension without realizing it. Gentle circular pressure applied here for 30 to 60 seconds can produce a noticeably relaxed, less tightly held quality to the face that is visible the following morning.
Step 5: Evening Products and Preparation for Sleep
Following your massage, apply your evening skincare products in the appropriate order for your skin. Serum first while the skin is still slightly warm from the massage, then moisturizer to seal everything in. This is not the night to introduce any new products or increase the strength of an existing active. Keep the product routine simple and focused on nourishment and hydration.
Important: do not apply retinol tonight. You are preparing your skin for a professional treatment tomorrow, and retinol increases photosensitivity and skin sensitivity in a way that can limit what your aesthetician is able to do. If retinol is a regular part of your evening routine, simply skip it tonight and resume your normal schedule after your appointment.
Drink a full glass of water before going to sleep. The skin loses moisture overnight through passive transepidermal water loss, and going to bed well-hydrated gives it the best possible conditions for the cellular repair work that happens during sleep.
Aim for a full night of sleep. This is the most overlooked element of pre-appointment preparation and one of the most impactful. Sleep is when the majority of the skin's repair and renewal activity occurs. Arriving at your appointment having slept well means your skin is already in an active, receptive renewal state and will respond more effectively to everything your aesthetician does.

The Morning of Your Appointment
Keep your morning routine minimal and gentle on the day of your appointment. A gentle cleanse to remove any overnight product residue, a light moisturizer, and your regular SPF are all you need. Do not apply any heavy serums, strong actives, or new products on the morning of your treatment.
Arrive at your appointment having drunk water that morning and eaten a light meal if you tend to feel lightheaded during relaxing treatments. Wear comfortable clothing that does not require careful adjustment around a freshly treated face. Give yourself enough time to arrive without rushing so that the calm you have built through your at-home spa evening is preserved rather than undone by a stressful commute.
Your aesthetician will notice the difference. Skin that has been properly prepared in the 24 hours before a professional treatment is more receptive to active ingredients, more responsive to manipulation and massage, and more able to show the full benefit of the session in the days that follow. The at-home spa day is not a luxury addition to your professional care. It is a meaningful investment in its outcome. For more on what your aesthetician will be doing during your treatment and what to expect throughout the experience, our Medspa 101 guide walks through the full process from arrival through aftercare.
And for guidance on how to care for your skin in the days following your professional treatment, our post on at-home skincare habits that support professional treatments covers the full post-treatment protocol in detail. Between the preparation and the follow-through, you are building a complete practice around your professional care, and the results reflect that completeness.
Ready to experience the difference that properly prepared skin makes? Book your next appointment at Kalos & Muse and arrive knowing you have set yourself up for the best possible result. Visit kalosmuse.com to schedule.